Why am I writing this?
4 Years ago while I was studying art for games I wrote a guide outlining how to make screen-space halftones using post processing in Unreal engine 4. Between then and now I have learnt so much about games, optimisation, workflows and tech art, so I am here today rewriting my 4 year old guide with a better understanding of halftones and post processing materials in unreal engine. Not a whole lot has changed in the way the code was laid out, however it is now significantly easier to put together, visually cleaner (both in code and game), and I have removed a lot of the redundancies.
Contents
- Project Setup
- Material Setup
- Outlines (Simplified)
- Halftones
- Bokeh's (Stencils/Shapes)
Project Setup
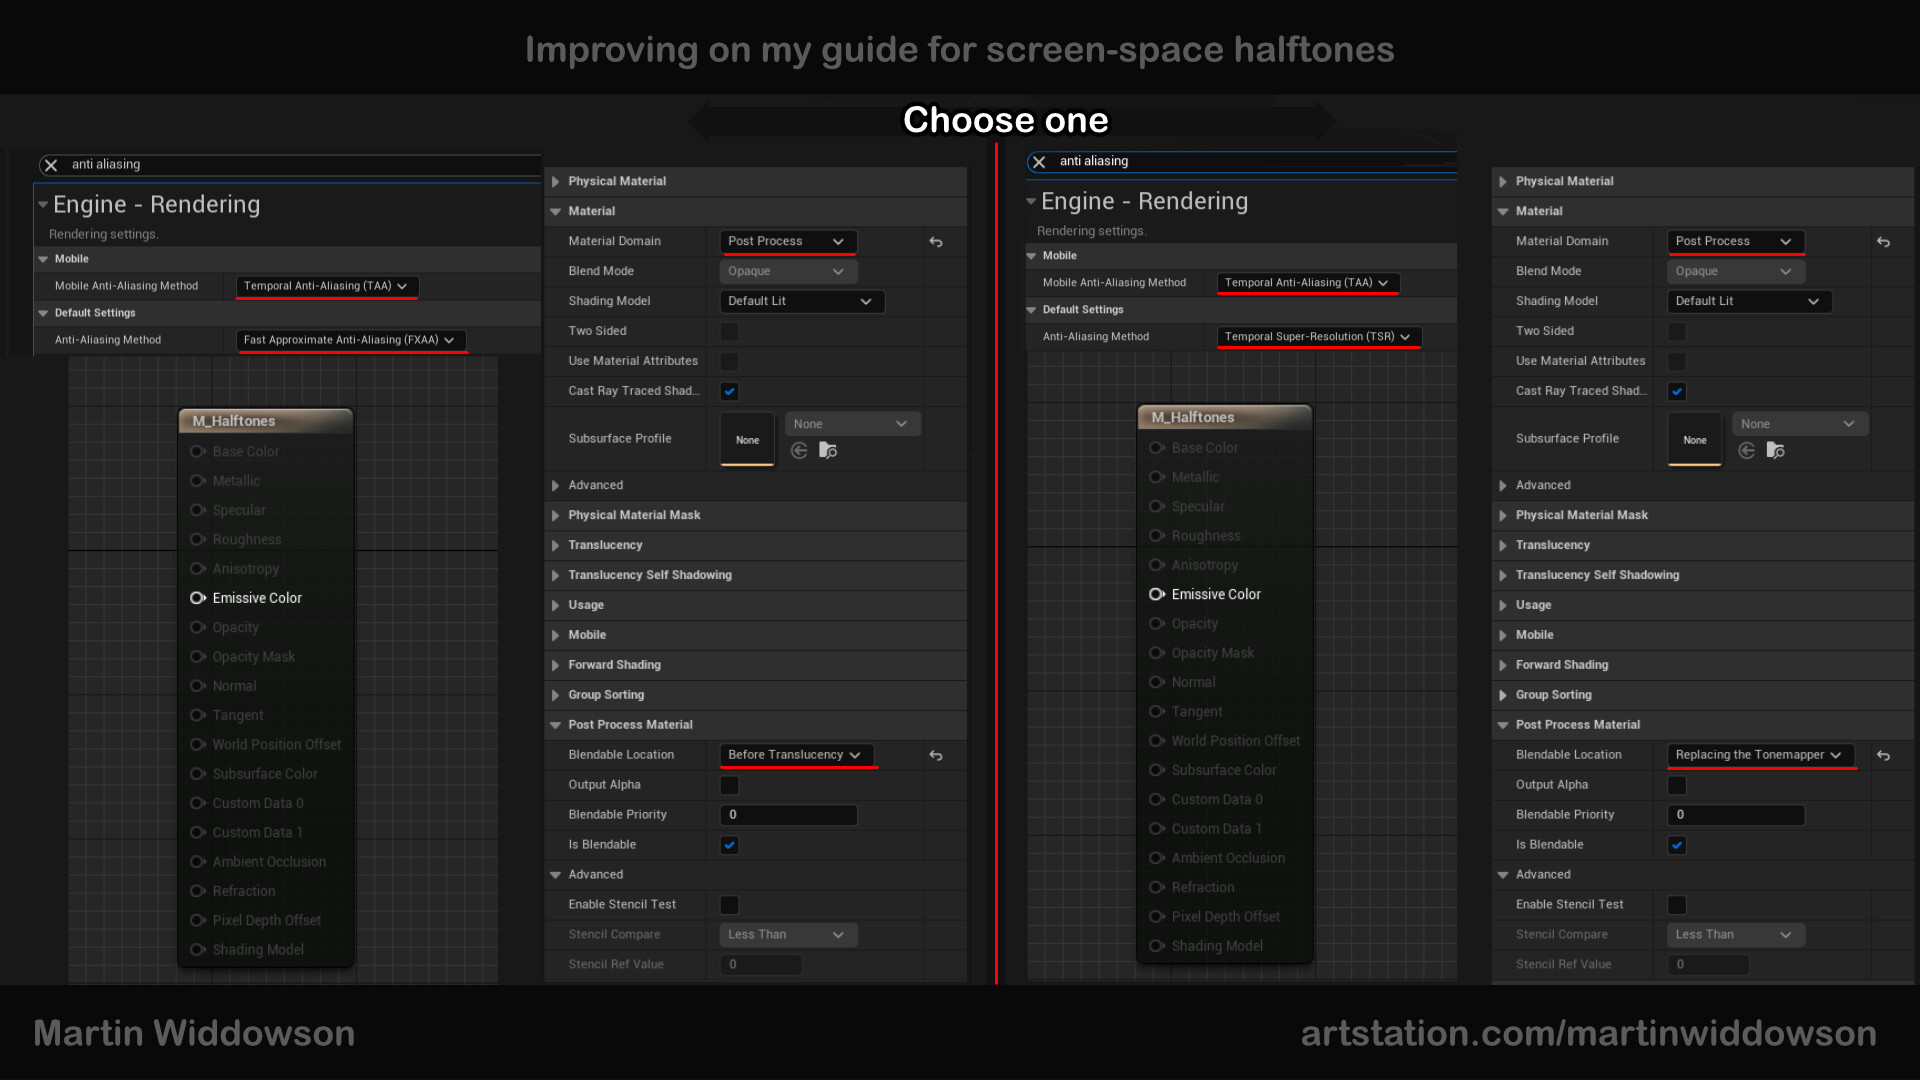
There's a couple dependencies we need to setup before we get started on the materials. I noticed while working on the halftones that I would get a lot of blur as the camera moved around, by setting the project settings anti-aliasing method to FXAA the problem disappeared entirely. I know however that this doesn't work for every project so I will cover an alternative in Material Setup that may suit your needs better. With the project settings complete we also need to setup the scene;
- create a post processing volume (or use one already in your scene).
- With the volume selected search for Infinite Extents (Unbound) and enable it, this will make the volume influence the camera no matter where it is in the scene.
- The last step, with the volume still selected search for the dropdown Render Features, inside this drop down there will be Post Process Materials here we will add an Element --> Asset Reference. This is where we will assign our halftones, outlines or other post processing materials.
Material Setup
Depending on if you can or cannot use FXAA, I have outlined two options for you in the image below. The main points to note are which material domain are we using and what step in the render process is it injected. both of these can be found on the master node of the material.
Outlines (Simplified)
Between my old post and this one, outlines have not changed. We are simply sampling a pixel, checking each adjacent pixel and seeing if the depth has changed, if the answer is yes then we are drawing black (0), otherwise we are drawing PostProcessInput0. I spent the time making a material function in the image after this to reduce the clutter.

Below is the material function for MF_Outline.

Halftones
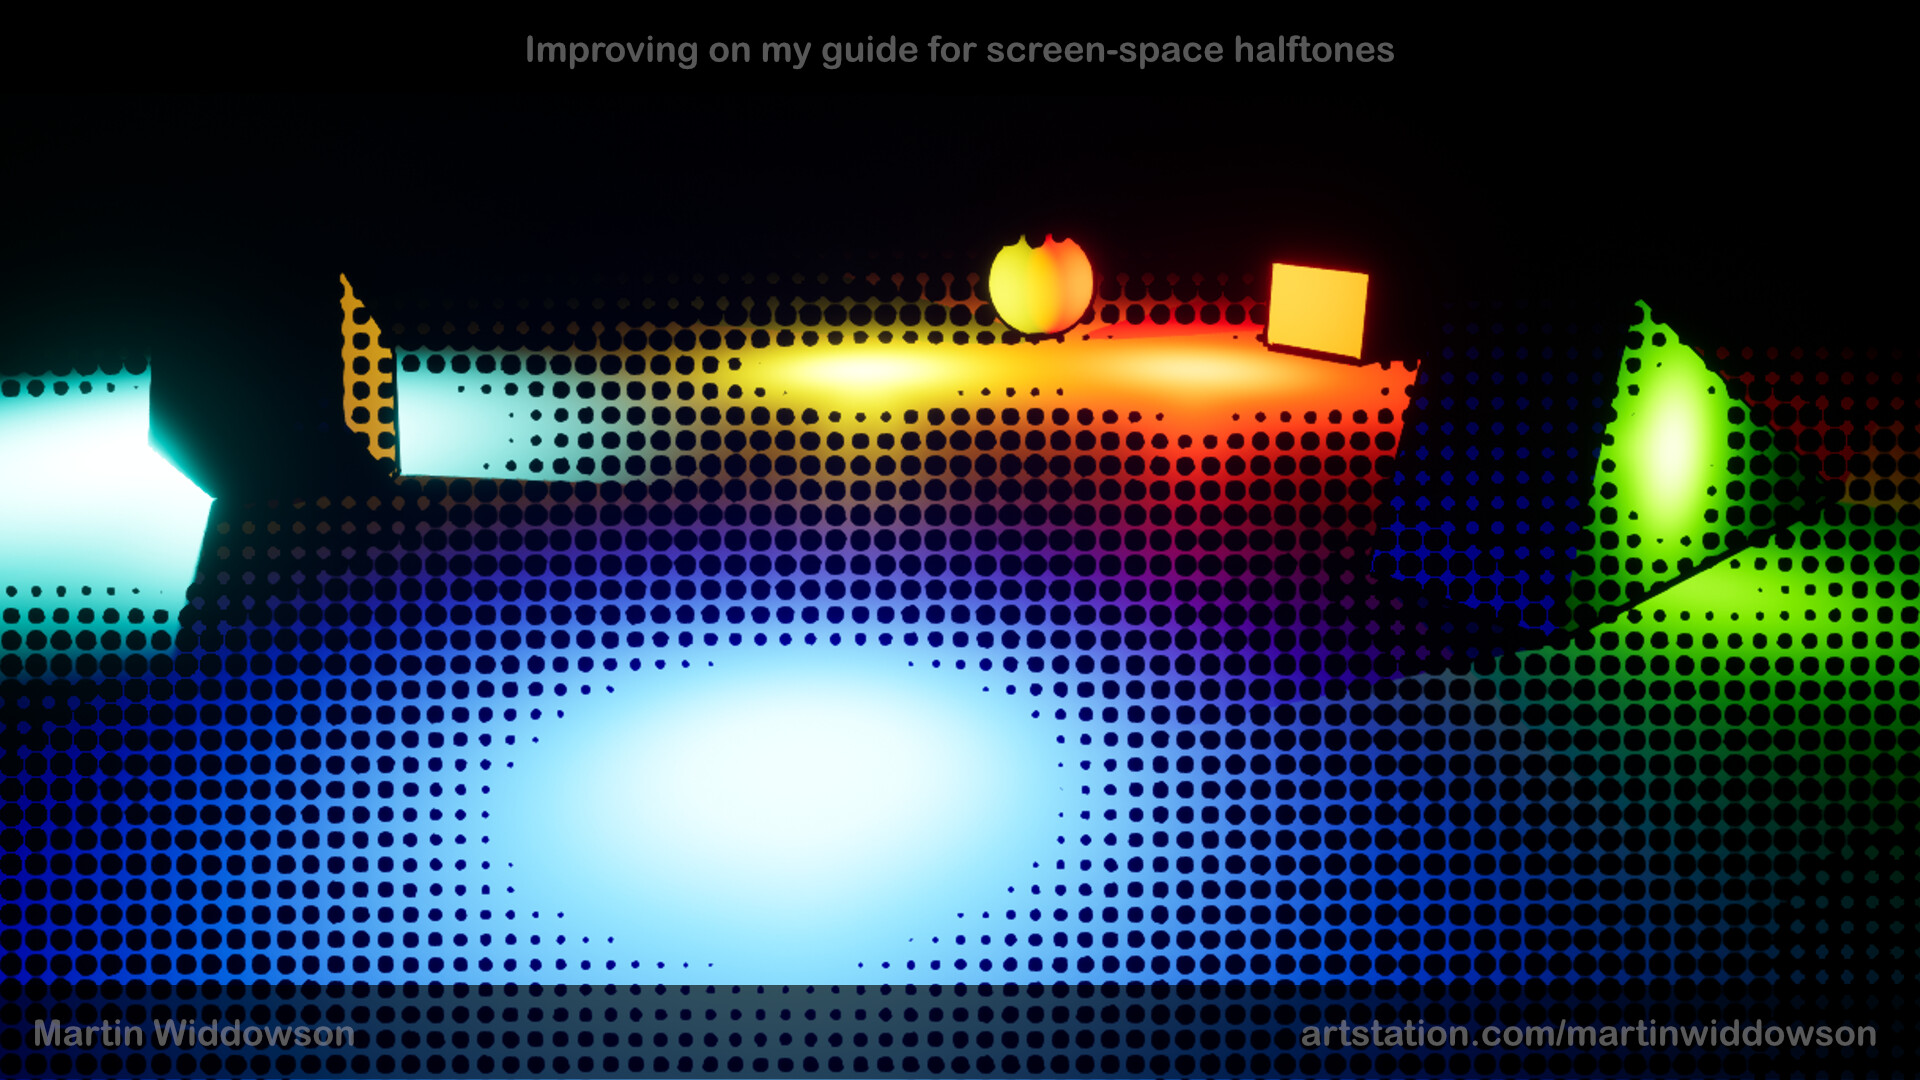
Compared to my last post, these halftones are a walk in the park. There is two parts behind halftones, the shape and how light masks the output. In unreal engine it is quite simple to get the light value in a post process material. Starting with 2 SceneTexture nodes, we will set one of them to PostProcessInput0 and the other to SceneTexture:BaseColor (for lighting). By dividing our Input0 by the base colour we have now extracted the lighting information in our scene. We then convert this to greyscale and clip/step our shape. This gives us a mask that we then blend between Input0 and black with.

As games are made for all dimensions of monitors it is important that the shape we are sampling is the correct aspect ratio, by dividing the screen width by the screen height we get a ratio that we can use to square our screen UVs. This will eliminate any stretching we would otherwise see on non-square monitors.
Bokeh's (Stencils / Shapes)
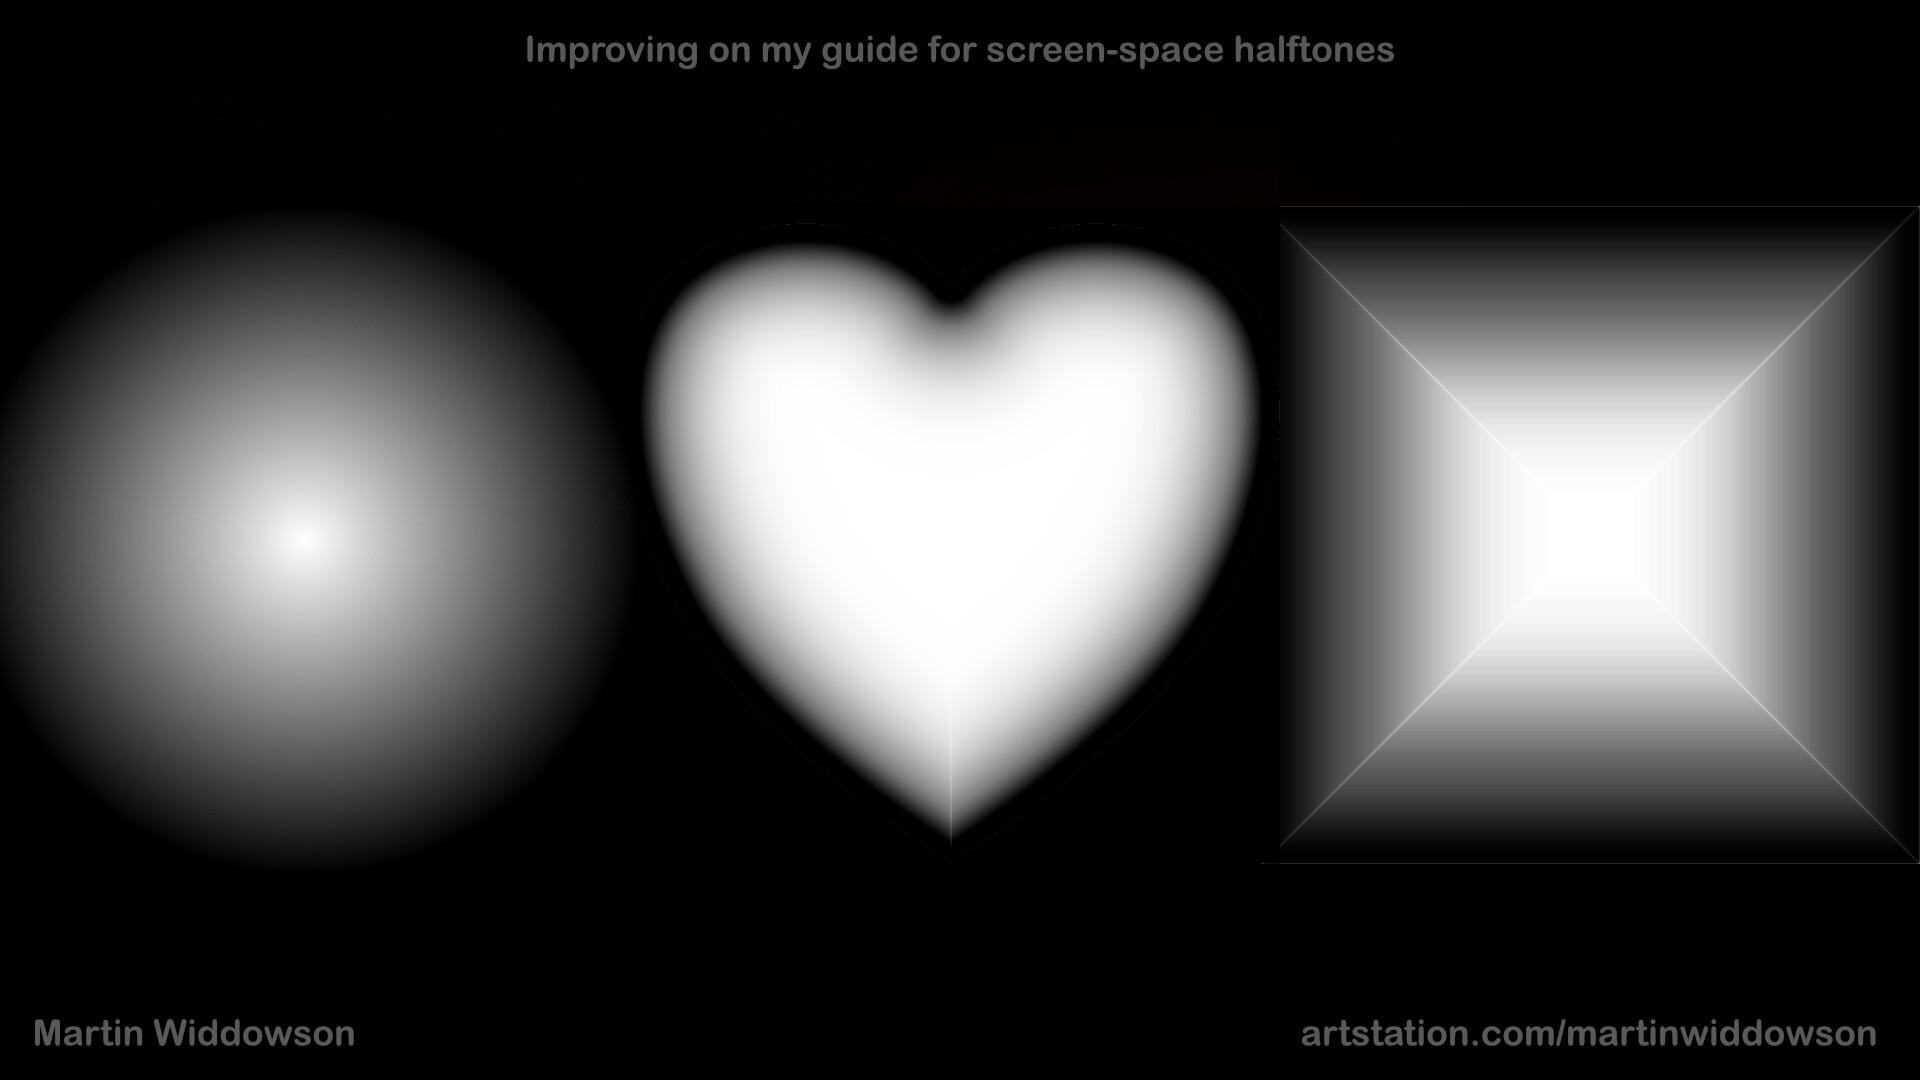
With the way this shader is setup we can input whatever shape we like! I find that circles are still the nicest but that comes down to personal opinion and project art style. Below are a few examples of textures to input and their results. It is important that whichever image we use has a gradient from black to white. These were made using Affinity Photo and the "Outer Glow" layer effect.